
Showing posts with label Fruit. Show all posts

Saturday, August 27, 2011

Blueberry White Chocolate Cookies


When will this craziness end? The weather has been a constantly changing threat in the area all week long. First, we begun with an earthquake (luckily with no damage). It was so foreign to NJ and NY. And now we are preparing for hurricane with some possible negative ramifications. The food stores were like a madhouse today full of scurrying customers in search of water, batteries, flashlights, generators, and food. After some likewise shopping of my own and some fun craft purchases to keep me busy during the looming possibility of a long power outage, I knew we would be in for some fun! Well, as soon as I heard we could stuck without power (translate to not being able to cook/bake), hubby and I started baking! We whipped a few batches of brownies and muffins for the family to enjoy, as well as these yummy cookies chock full of fresh, summer blueberries! These are slight adaption of white chocolate raspberry cookies made earlier this summer. They were such a huge hit with everyone, we gave them a "re-mix" with blueberries. Summer certainly has been unpredictable this year!

Jade, from The Mess Pot, hosted the What's Baking Challenge this month, and her choice was to Celebrate Summer with a nice, fresh summer recipe. So since I had some local blueberries, I simply incorporated them into part of this yummy cookie recipe.


8 oz butter (2 sticks), softened
1 cup sugar
1/2 can sweetened condensed milk (7 oz)
2 cups self-rising flour
7 oz white chocolate chips or chopped pieces
1 pint blueberries


1. Cream the butter and sugar on medium speed until well blended.

2. Add the sweetened condensed milk and continue to mix.

3. Sift in the flour slowly, while mixing it into the dough with your hands.

4. Stir in the white chocolate.

5. Take small pieces of dough and flatten it into a disk with your fingers.

6. Place a few blueberries into the middle and fold up and over.

7. Bake on parchment lined baking sheets in a 350 degree oven for about 12-15 minutes. Rotate baking sheets halfway through bake time.

8. Allow cookies to set on the baking sheet for 2-3 minutes while cooling, then transfer to wire racks to fully cool.


Source: Phil Vickery from Womenseverything.com

Also featured on: Full Plate Thursday, Foodie Friday

Tuesday, August 16, 2011

Peach Tarts


Well, the home renovation projects are underway! Life is busy and fun right now, but with all the craziness going on, it's been a quick cooking month. Here is one of my favorite easy sweet treats with fresh summer stone fruit. And it's so simple to switch out peaches to use your favorite stone fruits.


1 pkg frozen puff pastry dough, divided (or you can make your own,which is on my to-do list)
3-4 peaches, pitted and sliced thin with skin on
3 tsp rum extract, divided
3 tsp vanilla extract, divided
3 tsp cinnamon, divided
1/2 cup sugar, divided
1 tsp salt, divided
*Makes 3 tarts*

1. Allow the frozen puff pastry to thaw slightly (about 30 minutes or until pliable). Unroll the dough and cut it into thirds.

2. Roll each piece of dough out until about 1/8" thick. Transfer to baking sheet.

3. Layer the sliced peaches on the center of the dough in rough rows, leaving about an inch of dough around the exterior.

4. Fold up the sides lengthwise and then fold up the top and bottom edges. Repeat with remaining dough and peaches.


5. Sprinkle a few tablespoons sugar, 1 tsp cinnamon,a pinch of salt, 1 tsp vanilla and rum extract over each tart.

6. Bake in a 400 degree oven for 18-20 minutes or until puff pastry is golden brown. Serve with fresh whipped cream for a yummy dessert!


Enjoy!

Source: adapted from Veggie Belly
Also featured on: Made From Scratch Tuesdays, Mangia Monday, and Southern Fairytale

Thursday, July 28, 2011

Nectarine and Blueberry Scones with a Honey Butter Glaze


This month of new home demolition is crazy as ever, but we are beginning to see the progress, which is so encouraging! I'm so very excited to finally move in! Hopefully it will be next month! For now, we are busy bees getting everything ready that we can. And the best part, we are finally free of those scorching hot days!


This month's What's Baking Challenge was to Bake Local, hosted by Lindsey of Our Share of the Harvest. I'm a big fan of using local foods and supporting local businesses so this was right up my alley! I stopped by two farmer's markets and a roadside stand to get my booty for this fun recipe.
My favorite farmer's market purchase was definitely the raw fall honey. It's so different than the honey you buy at a store and it's healthier for you too! I also scored some yummy nectarines and blueberries.


I have a little funny story related here. I was planning to make a stone fruit crostata with my local bought produce for this month's challenge. I started making my normal go-to Lidia Matticchio Bastianich's recipe and, much to my dismay, the dough was not forming at all! It never harden, just stayed liquid. Yuck! I ended up throwing it away. My confidence was starting to get shaken, but I figured I have to try again anyway. So I went for attempt #2, which started out better, but the end product was still lacking. I couldn't figure it out. Why was my dough behaving so funny? The humidity in the kitchen? My ingredients were not chilled enough? Should I have used a different utensil to mix? I was truly baffled by these events!
So I let the dough chill in the fridge overnight, as per the directions. In the morning, it was none the better. I was unable to roll it out, only press it into a disc with my palms to flatten. But I had to try to bake it at this point just to see what would happen. So I threw together my fruit filling and laid in on top and rolled it all up. Finally, it looked pretty good, despite my earlier issues. I popped it in to bake hoping it would turn out well. I left the kitchen for barely a minute or two, then came back to check on it to find.... that the dough had melted! Yes, that's right, melted! Literally. It ran down the parchment, over the pan, off the sides and onto the oven floor where it had already puddled. The best part? The puddle was on FIRE! Needless to say, I was done baking that day... Well, the end of my story is that I cleaned it up and decided to make scones. I am using my mother's kitchen since we are in the middle of moving, and discovered that when I thought I was using flour, the whole time I was using confectioner's sugar!!! My mom keeps them in these large upright Tupperware containers. And I know the spot the flour lives, but apparently she switched up their order in the closet. I can't believe I didn't notice it earlier, but at least I found out why! I guess we need to purchase some labels for our containers... Thanks for listening to my crazy story and now if you are still reading this enjoy these scones! They are so sweet and full of fresh fruit; hmmm... breakfast or dessert?


3/4 cup diced nectarines, peel on
3/4 cup blueberries
4 cups all-purpose flour
2/3 cup powdered sugar
1/2 cup granulated sugar
2 tablespoons baking powder
1 teaspoon nutmeg, divided
2 teaspoons cinnamon
1 teaspoon salt
2 cup cold heavy cream, plus additional for brushing
1/3 cup honey
1/4 butter


1. Mix all the wet ingredients together in the bowl of a stand mixer.

2. In a separate bowl, whisk together all the dry ingredients.

3. Slowly add the flour into the wet mixture, stirring periodically. This dough will be quite stiff.

4. Turn the dough onto a well floured surface and knead with floured hands for a minute a two.

5. Flatten your dough slightly and press all your frozen fruits into the dough. Continue to knead for another minute or two to spread the fruit evenly through your dough.

6. Using your hands, shape the dough into a large, flattened circle. Using a floured knife cut the dough in half to form two half moons. Then cut each each half moon in thirds resulting in a total of six wedge shaped scones.

7. Now you can either place a few on a parchment lined baking sheet or you can freeze them for later use. To freeze, simply place scones on a baking sheet in freezer just long enough to harden, then transfer into freezer bags. Defrost and brush with cream when you are ready to bake them at a later date. To bake, brush them with a few tablespoons of heavy cream and place them in a 425 degree oven for about 24-26 minutes.

8. While the scones are baking away in the oven, put the honey and butter in a glass measuring cup in the microwave for 90 seconds (a minute and a half) on high, stirring once halfway through.

9. When scones are cooling, brush them with honey butter and let sit for 20 minutes then brush them again. This helps them to stay fresh for up to 4 days. It's a natural (and very sweet) replacement for preservatives!


Enjoy!


Source: Adapted from 5 Second Rule and Baking and Books

Also featured on: Made From Scratch Tuesday, Works for me Wednesday, Full Plate Thursday, Foodie Friday, Ultimate Recipe Swap

Tuesday, July 19, 2011

White Chocolate Raspberry Cookies


So far summer has been full of fun, change, and busy days. The humidity has been unfortunately high, but there are also days where the heat breaks and it's just beautiful! However, our past few days have looked something like this.....


Oh, the joys of moving! More packing and less posting this month, but it will be all worth in the end, once we are fully moved in and settled in our home! It won't be for awhile, but we are making due in the process.


While all the hectic moving and construction goes on, I still managed to squeeze in some baking time this week. I made these cookies for my hubby's co-workers who were super helpful and gracious to my husband. We thanked them with these cookies, and some other treats which will be coming over the next week. Good thing I did my baking this past week, because the heat index is continually climbing. Also, tomorrow I will be featuring my first guest post so stay tuned for scrumptious cappuccino chocolate chip muffins from Donna at My Tasty Journey! Now back to the cookies...


White Chocolate Raspberry Cookies:

8 oz butter (2 sticks), softened
1 cup sugar
1/2 can sweetened condensed milk (7 oz)
2 cups self-rising flour
7 oz white chocolate chips or chopped pieces
1 pint raspberries


1. Cream the butter and sugar on medium speed until well blended.

2. Add the sweetened condensed milk and continue to mix.

3. Sift in the flour slowly, while mixing it into the dough with your hands.

4. Stir in the white chocolate.

5. Take small pieces of dough and flatten it into a disk with your fingers.

6. Place one or two raspberries into the middle and fold up and over.

7. Bake on parchment lined baking sheets in a 350 degree oven for about 12-15 minutes. Rotate baking sheets halfway through bake time.

8. Allow cookies to set on the baking sheet for 2-3 minutes while cooling, then transfer to wire racks to fully cool.


Source: Phil Vickery from Womenseverything.com

Also featured on: Mangia Monday, Mouthwatering Monday, Made From Scratch Tuesday, Tempt My Tummy Tuesday, Tasty Tuesday

Tuesday, June 21, 2011

Watermelon Fruit Basket


It's starting to get that hot streak back, which I was more than happy left those last two weeks. And while I live to bake, sometimes when it's really hot outside I just don't want to turn on the oven at all. It's on those occasions that all the no-bake desserts are my best friends.

Since it's been so warm out recently, I turned to a fruity sweet snack instead of another baked treat. This is a super easy and very fun fruit dessert to make, plus it's healthy! It can be used as a centerpiece, a dessert item, or just part of a backyard party. And all you need is a little bit of time, a knife, and a melon baller/cookie scoop.

This watermelon basket was made to celebrate my favorite uncle's recent promotion. He's now the head honcho of the east coast! We also made a cake decorated with the his company logo, but I didn't think it turned out quite cute enough for blogging. He's pretty into all things healthy so this dessert was right up his alley. Hope you enjoy this fruit basket!


1 whole watermelon
1 pint blueberries
1 pint strawberries
1 pineapple, cut into chunks
1 pint of raspberries
6 kiwis, sliced


1. The only tricky part to this endeavour is making the basket. Be sure your watermelon has a flat bottom so it will be able to stand freely and is as blemish free as possible. Begin by using a pairing knife to score the portions that are going to be cut away. You will be removing the top half of the watermelon on the outer edges. Basically, from halfway up the watermelon to the top will be completely removed except for about 3 inches in the middle for the handle.
2. Then using a sharp knife, cut out the top right and left portions, being careful to leave the middle section for what will be the handle.

3. Remove sections of pulp from inside the basket bottom and inner handle, placing them aside to later be shaped into melon balls. Continue until the watermelon is hollow.

4. Using an ice cream scoop, scrape around the hollow inside to make it even and smooth. (No need to be too fussy though, it will be covered up with all the yummy fruit soon!)

5. Using a sharp knife, begin making diagonal cuts on your handle to make the triangular edges. Continue along all the edges of the handle and basket.

6. Then start filling your basket with the fruit. Blueberries, strawberries, and raspberries can go in whole. The pineapple can simply be cut into chunks. The watermelon (and any other melon too, we usually use cantaloupe or honeydew as well) needs to be balled. Using a cookie scoop or melon baller, stick the end in the melon and turn it around full circle, then pull it out and you have a melon ball! Feel free to add in any other fruits you like as well.

7. Toss all the fruit together in your watermelon basket and you are all set! (I placed the kiwi slices on top and did not toss them in because they are more delicate.) You can also serve this with a fruit dip, like this Irish Cream Fruit Dip. If you have any leftover strawberries and blueberries, these Red, White, and Blue Berries are perfect for upcoming 4th of July parties. Enjoy!


Also featured: Mangia Mondays, Mangia Mondays, and Mouthwatering Mondays

Tuesday, April 5, 2011

Fruit Salad with Sweet Dressing

April is an important month for me and my family, because April is Autism Awareness Month! For anyone who knows me, you know that I love my family tons! My little brother is very special to me. He's my buddy. And he's autistic.


Throughout the month of April, I hope to share, a little about my brother and about autism, along with many of my posts. As I'm sure many people know, the Autism Awareness ribbon is characterized by puzzle pieces and primary colors. Also, the color "blue" has become a symbol a Autism Awareness through the Autism Speaks insignia. I will be blogging about autism along with my usual recipes for this month. Thank you to everyone in their support of Autism Awareness and spreading the word!


This is a very simple fruit salad which I chose to feature today, because its colors are similar to that in the Autism Awareness Ribbon. I hope to feature some foods that highlight the color themes for Autism Awareness, as well as, some of my brother's favorite foods in the up coming weeks.


6 strawberries, sliced
4 oz blueberries
1/2 cantaloupe, diced
1/2 pineapple, cubed
1 bunch of green grapes
1 bunch of red grapes
4 tbsp honey
2 tbsp lemon juice
1 tsp lime juice
2 tsp vanilla
2 tbsp cinnamon

1. Rinse all of the fruit and pat dry with paper towels. Place all the fruit in a large bowl.

2. In a small bowl, add honey. Slowly, add in lemon and lime juice while stirring.

3. Stir in vanilla and cinnamon.

4. Drizzle the dressing over the fruit and lightly toss until well coated. Serve chilled.

Monday, March 21, 2011

Make Your Own Edible Arrangements (Fruit and Veggie)


Welcome Spring! We missed you! This past Sunday, first day of spring has finally arrived after much anticipation! It's been a cold and snowy winter and the idea of warmer weather, flowers, being outdoors without a fuzzy coat, all sound very appealing. However, just a few days into spring and I wake up to see this....


So apparently winter is trying to give us one last hurrah before spring can come and take over! This time last week, there was beautiful 70 degree weather and today schools are closed. Either way, I'm getting ready for spring! It's coming soon, right?


Fruit Edible Arrangement


1 whole pineapple, cut into 1"inch thick slices
10 blueberries
1 container strawberries
1 cantaloupe
1 pound green grapes
1 pound red grapes

Also some necessary items for construction:
bowl or vase with wide mouth (approx 5-6 in diameter)
foam or loosely balled foil with a cover, such as lettuce leaves or melon rind
skewers
toothpicks


1. Prep your base first by placing the loosely balled foil into the bottom of your vase or bowl until its 3/4 full. Then place the covering over it. I used the rind from the cantaloupe and it looked so cute! Or if you happen to have florist foam you can just place it in the bottom with or without a cover. Just be sure it fits snug.


2. Now here is the beauty of making your own edible arrangements. You can choose exactly how many of each items, how tall they are,and how to arrange them; it's all up to you! So if you love strawberries, use more of those. If you are making this for friend who loves pineapple, go crazy. Also I found it easier, to choose one skewers to make all the holes in the base before you begin. I also choose to push the skewers in the base before adding the fruit. It seemed to work better.

3. Cut the cantaloupe into wedges after removing the rind. I tried to keep mine welly intact to use it as the cover. I also used a fancy vegetable slicer to add crinkled edge cuts on the cantaloupe. Set aside prepped cantaloupe.

4. The strawberries are very simple. Just remove the greenery on their tops with a knife and place on skewers. You certainly could dip them in chocolate. I wanted to dip the, but happened to be out of chocolate when I made these, which barely ever happens because I love chocolate!

5. The grapes were fun and easy. Slide the grapes on the skewers vertically and just keep filling your skewer until the grapes reach the top.

6. Now for the trickiest of all, the pineapple flower. I used a star-shaped cookie cutter for this flower. Cut out one flower in the middle of the slice. Then, using a paring knife, carefully cut through the middle horizontally to make two 1/2" thick stars. Use a small piece of toothpick to securely attach the two stars in the middle and put one blueberry on the end and skewer up the center of the flower. Viola!

7. Be sure to keep your arrangements covered in saran or cellophane and in the refrigerator. And try to make it near to the time you will be serving or delivering the arrangements, so the fruit is fresh as possible!


Veggie Edible Arrangement


10 radishes
10 asparagus stalks
1 small bunch of fresh dill stalks
1 container of cherry tomatoes
1 cup of dressing (Ranch, blue cheese, Caesars, etc)

Also some necessary items for construction:
bowl, vase, or Ball jars
toothpicks


1. Start by washing and preparing a large bowl of cold water to let the radishes soak in.

2. Using a small paring knife, cut off the tops of radishes and level the bottoms.

3. Begin to make small cuts on the sides of the radishes, but don't go all the way down. Leave the bottom connected as a flap for petals. Let soak in cold water for about an hour to open the "flowers".

4. Remove the tops of the asparagus and put half a toothpick into the bottom of the stalk.

5. Push one radish flower onto the toothpick and repeat with the rest of the asparagus and radishes.

6. You can either use a dressing in the bottom to appear as "water" in your vase or what I did which was fill the bottom inch of the vase with cherry tomatoes.

7. Stand up the "flowers" and dill, which acts as your greenery, in the vase and that's it! Also, keep this arrangement in the refrigerator and serve/deliver as soon as possible for fresh veggies!


Source: The Dapper Darling

Also featured on: Works for Me Wednesday

Friday, December 31, 2010

Poppin' Strawberry Bellini


A dynamite way to ring in the New Year with this drink in hand! My husband loves Pop Rocks, so he was trying to decide how to incorporate them into a New Year's food and here's what we came up with. Happy New Year!


1 part strawberry vodka
1 part strawberry daiquiri mix
2 parts prosecco or champagne
fresh strawberries
a few pkgs of strawberry Pop Rocks


1. Start with your strawberry in the glass (martini or champagne flutes work well)


2. Add prosecco first.


3. Pour in the vodka.

4. Slowly drizzle in the daiquiri mix.


5. Now here's the fun part! Sprinkle in about half a pack of Pop Rocks and watch them fizzle!

6. Your drink will continue you popping in your mouth for the next 10 or 20 minuets so enjoy while watching the fireworks! The strawberry itself even pops towards the end!


Wednesday, October 13, 2010

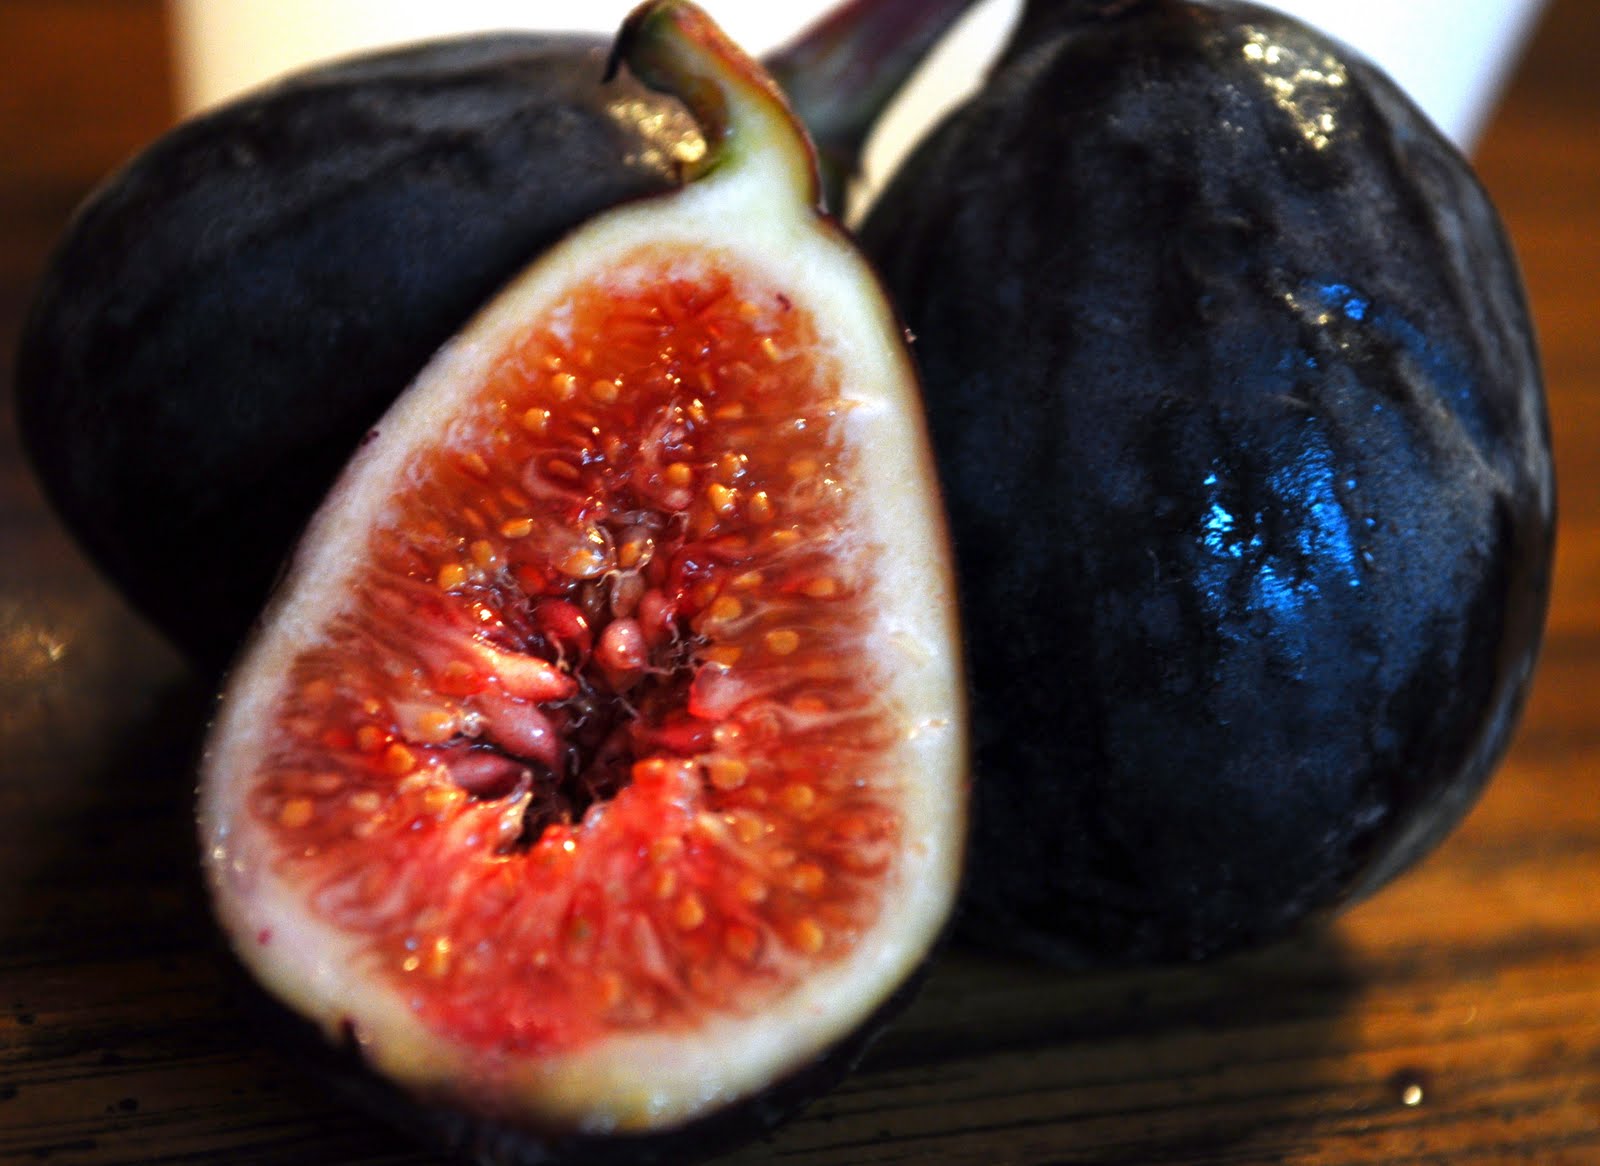
Fig Newtons


Here we are! Fig newtons, homemade! Not that I have anything against Nabisco :) I wanted to try out this awesome recipe I spotted at Beantown Baker and while I was not a lover of a fig newtons, my wonderful Aunt Nancy is a big fan. So for her birthday, I gave them a try!


Dough
1 stick unsalted butter, softened
1/2 cup sugar
1/2 teaspoon grated lemon or orange zest
1 large egg white
1/2 teaspoon vanilla extract
1 1/2 cups all-purpose flour

Filling
2 lbs fresh figs
1/4 cup sugar
Juice of half a lemon


1. Cream the butter, sugar and zest in the bowl of a stand mixer fitted with the paddle attachment, for 2-3 minutes on medium speed. Scrape the sides of the bowl.

2. Beat in the egg white and vanilla.

3. Next, add the flour and beat on low speed until the dough comes together.

4. Wrap in plastic wrap and refrigerate for 2 hours or overnight (the longer the better). I took mine out after about an hour and a half and it was way too soft.

5. While the dough is chilling, cut the figs in half and scoop out the seeds and pulp with a spoon. In a medium sauce pan, combine figs, sugar, and lemon juice. Mash mixture a few times with a potato masher or fork.

6. Cook mixture over medium-high heat until bubbling and sugar has dissolved; reduce heat to medium-low and simmer, stirring occasionally, for 30 minutes, until it has reduced by about one-third and is beginning to gel. Set aside until completely cool.

7. Place racks in middle and lower third of the oven and preheat the oven to 350 degrees. Line baking sheets with parchment paper.

8. Here's the tricky part, at least, it was for me. On a floured surface, roll the dough out to a 12 x 16 rectangle. Cut into 4 equal strips, each 12 x 4 inches. Spoon a line of filling down the center of each strip. I had a little too much dough for the amount of filling and since I'd rather have super stuffed fig newtons, I threw some jam in the excess dough. Fold the dough over the filling and pinch the edges together. Using a serrated knife, slice each log on the diagonal into 10 cookies. Place each cookie on the parchment-lined baking sheets, seam side down.

9. Bake, rotating the baking sheets from top to bottom and front to back halfway through, for 12-15 minutes, until golden. Remove from the oven and allow to cool on a rack.

They turned out great and I will definitely make these again!


Monday, July 5, 2010

Red, White, and Blue Berries


Red, White, and Blue Berries
Taken from http://www.ehow.com/how_2259361_cheesecake-stuffed-strawberries.html
These cheesecake stuffed berries are perfect for the 4th of July or any other time in my opinion!


About 24 strawberries
16 oz cream cheese (softened)
1 cup confectioner's sugar
2 tsp vanilla
1 pint blueberries


1. Rinse and dry strawberries and blueberries. Using a melon baller, 1/4 tsp scoop, or a small cookie scoop, hull out the inside of the strawberry. Be sure not to remove too much of the insides or the sides will be too thin to keep its form. Pat inside dry.

2. Combine cream cheese, sugar, and vanilla in a large bowl. Beat together until well combined and fluffy.

3. Using your preferred tip, fill cheesecake filling into a pastry bag. Place tip inside in the strawberry and fill.

4. Place one blueberry on the top of the cheesecake filled strawberry to have all the wonderful colors of the 4th of July! You can leave out the blueberry and enjoy it plain. You can also add any topping you love, crushed nilla wafers, crushed graham crackers, crushed toasted almonds or other nuts, crushed Oreos, or anything else you like!


Thursday, January 21, 2010

Exotic Fruit Sighting


My grandparents and aunts were eating the strangest fruit I'd ever seen and they called it "figurina". Well it is actually a prickly pear. My grandpa said it used to have spikes on it, but now they must cut it off before selling. But it is interesting looking and very vividly colored on the inside.


I was not brave enough to try it but my husband described it as hard-seeded watermelon like fruit. He said it was like a hybrid between a watermelon and raspberry. I was wondering if anyone else was familar with them? My family seems to love them, but they are hard to find. If anyone has recipes or ways to serve them, please share!